Customising
SharePoint 2013 People Search Result
1.
Copy an existing Display Template for People
residing at Master page and page layouts gallery under Display
Templates\Search\Item_People.html
2.
Name it whatever you want. For instance
Item_KI_People.html
3.
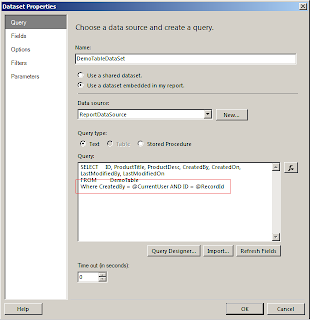
To check the exact name of the field you are
adding to ManagedPropertyMapping, go to your Search Service Application and
click on Search Schema and view the property name of your desired property as
shown below:


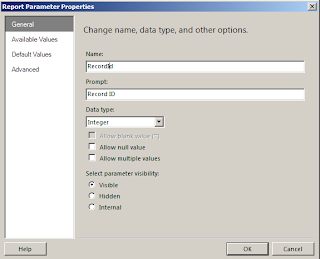
4.
Edit Item_KI_People.html file in your notepad
and add following highlighted/boxed text:
5.
Upload as Item_KI_People.html
and provide value for the metadata as shown below image:
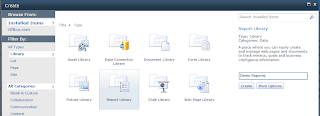
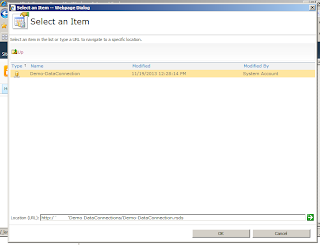
6.
Navigate to Site Settings > Result Types
7.
Click on existing Person result type and select
Copy
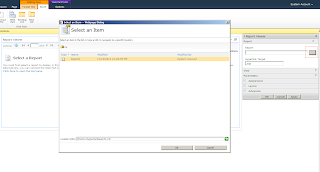
8.
Provide values as shown in image:
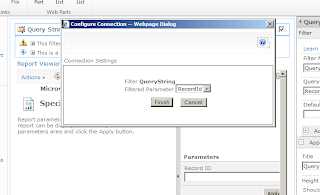
9.
Click Save.
10.
Now go to http://kispapp-dev:8080/Search/Pages/peopleresults.aspx?k=masood
and replace kispapp-dev:8080 with your site hosting search center.
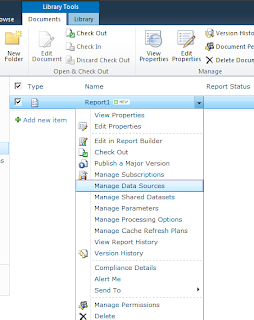
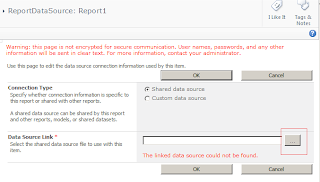
11.
Edit peopleresults.aspx page
12.
Edit People Search Core Results web part and
select your desired Item Display Template shown in below image:
13.
Click OK and perform search and you would see
new changes as shown below:
14.
That’s it. Enjoy and comment if it helped you
save your time.